I am very, very protective of my iPhone. I guard it carefully because I’m so worried about getting it scratched or worse. But vigilance can only help so much – as careful as I am, I travel with my phone constantly, and one of these days it’s going to flying out of my pocket at the airport or get eaten by an alligator or something. I have a really nice case that Jai got me for Christmas that cushions it nicely, but I’ve been meaning to get a screen cover as well to avoid scratches and help protect it in the event that it falls out of the case or has an accident while I’m charging it.
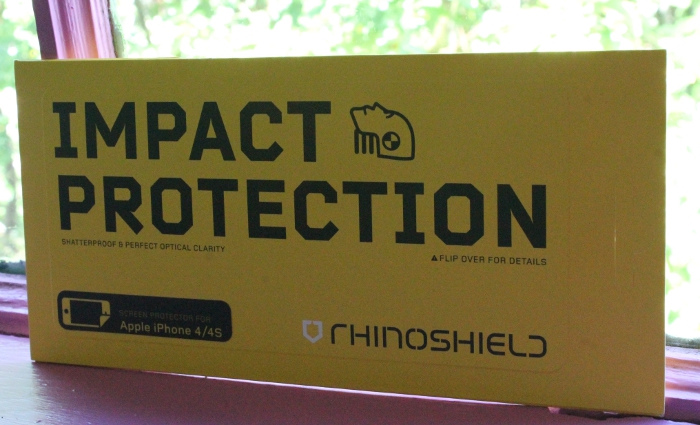
Enter RhinoShield. This screen guard inspired me to finally get around to this task because their marketing is a little more ingenious than most screen protectors. This is meant to protect your phone from shock in a way that most traditional scratch guards just can’t – watch the video above where they test it out by dropping it on concrete. I was intrigued!
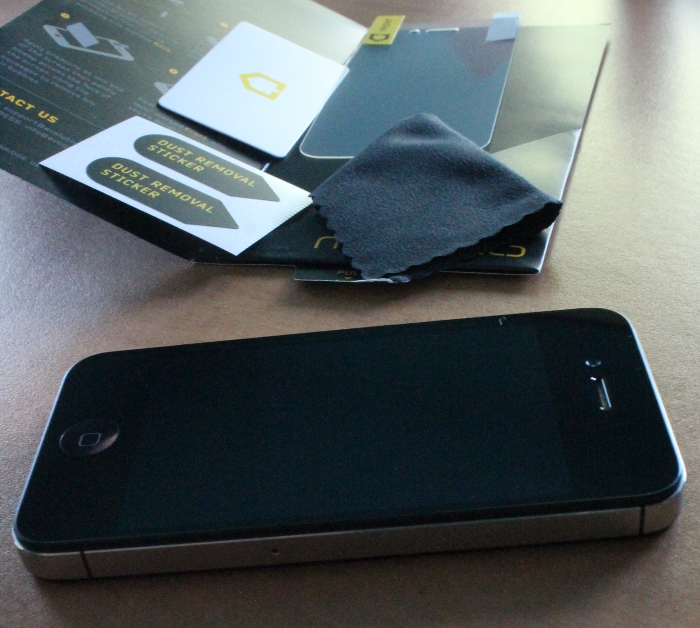
The RhinoShield kit comes with the screen protector, an applicator to smooth it out, and a cleaning cloth with dust removal stickers to clean your phone thoroughly before application.
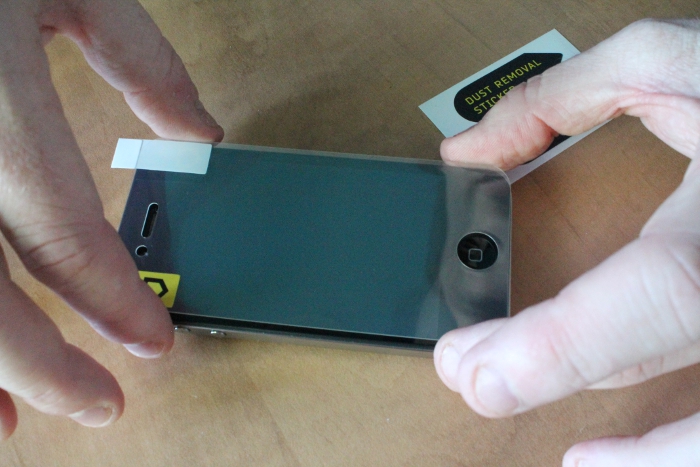
After giving my iPhone 4S a thorough clean, Jai and I set about putting the screen guard on. Well, he put it on, I took the photos. 😉 The screen protector comes sandwiched between two layers of protective plastic, with markers telling you which side goes down. You line it up to fit the screen, and remove the “Back” piece of plastic so that it will stick. Then you take the thin applicator tool to smooth out any bubbles. It went on pretty well – there’s a teensy tiny bubble on the side that didn’t squeeze out, but it’s not really noticeable.
Once you have the screen protector smoothed out, you remove the top layer labeled “Front” – this makes it so that the RhinoShield screen itself is protected through the whole application process.
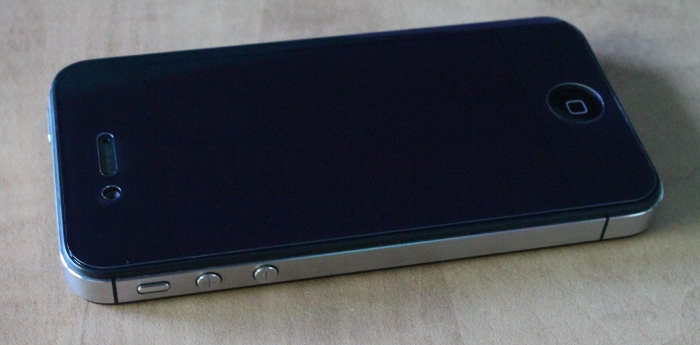
And here’s the finished product! I’m quite satisfied with it thus far. It looks like a nice sturdy screen shield, and it has been easy to clean as advertised. Above and beyond that, I can’t attest to its protective powers, because I’m not about to take a hammer to my phone for the sake of this review – sorry about that! 😉 But it seems like a no-brainer to me that my phone is more protected now than it was sans screen. As I embark on a week of travels tomorrow, I’m very happy to have some extra protection for my precious phone!
Learn more about RhinoShield by visiting their online store and following them on Twitter and Facebook.


